Understanding the new receipt system
In the latest edition of iDonate, one of the features that has been thoroughly re-worked is Receipts. Before, the Receipt Email was configured within the Organization section. Now, the Receipt Email is a subsidiary of the Giving Form, which is a subsidiary of the Campaign.
In addition to adjusting their infrastructure, we've also expanded the customization options for Receipts. Read along for a detailed explanation.
Navigate to Receipts
There are two ways to navigate to your organization's receipts:
1. From the Organization Settings Cogwheel:
- Click the Organization Settings Cogwheel ⚙ at the top right corner of your screen
- Select Manage Receipts
- From here, you can Set As Default, Customize, or Preview your receipt. Your Default Receipt is automatically selected when you create a new Giving Form.

2. From the Giving Form:
- From the Campaigns section, select the Campaign containing the Giving Form you wish to edit the Receipt of.
- Then, select Edit on the Giving Form card that corresponds with the Receipt you need to edit.
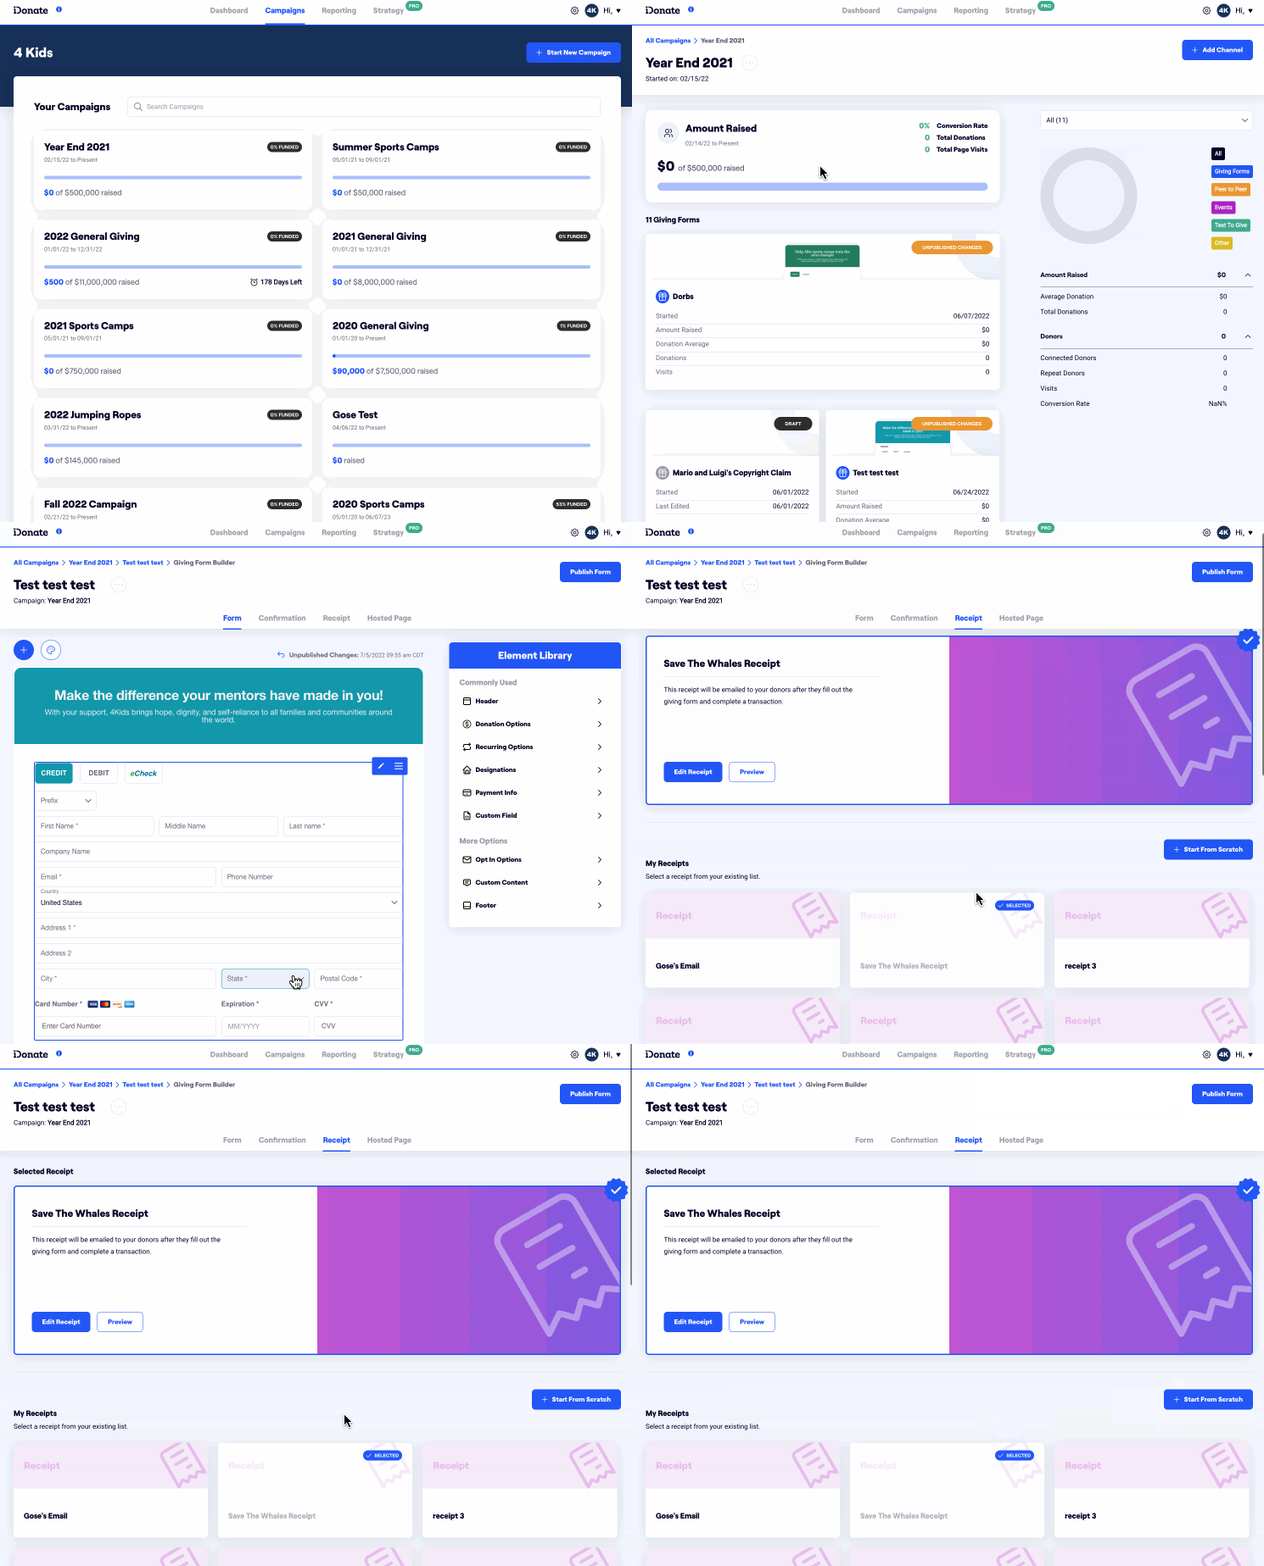
- From the top navigation of the Giving Form Editor, select Receipt. This will show you the Receipt you have assigned to the Giving Form, and all available Receipt Templates.

Opening the Receipt Editor
Note: Receipts act as templates, so editing a receipt is editing it everywhere it's in use.- You may choose to edit a receipt from the Manage Receipts screen by clicking Customize. Please review before clicking Yes, Edit This Receipt to continue to the Receipt Editor.

- On the Receipt screen within the Giving Form Builder, select Edit Receipt. This will bring up an Edit Receipt Confirmation popup with all the Giving Forms tied to this receipt. Please review before clicking Yes, Edit This Receipt to continue to the Receipt Editor

What if you don't want to edit the receipt for all of those Giving Forms? No worries! Simply click Clone to reuse that receipt template for a brand new receipt. Or, click + Start From Scratch to create a brand new receipt.

Editing the Receipt
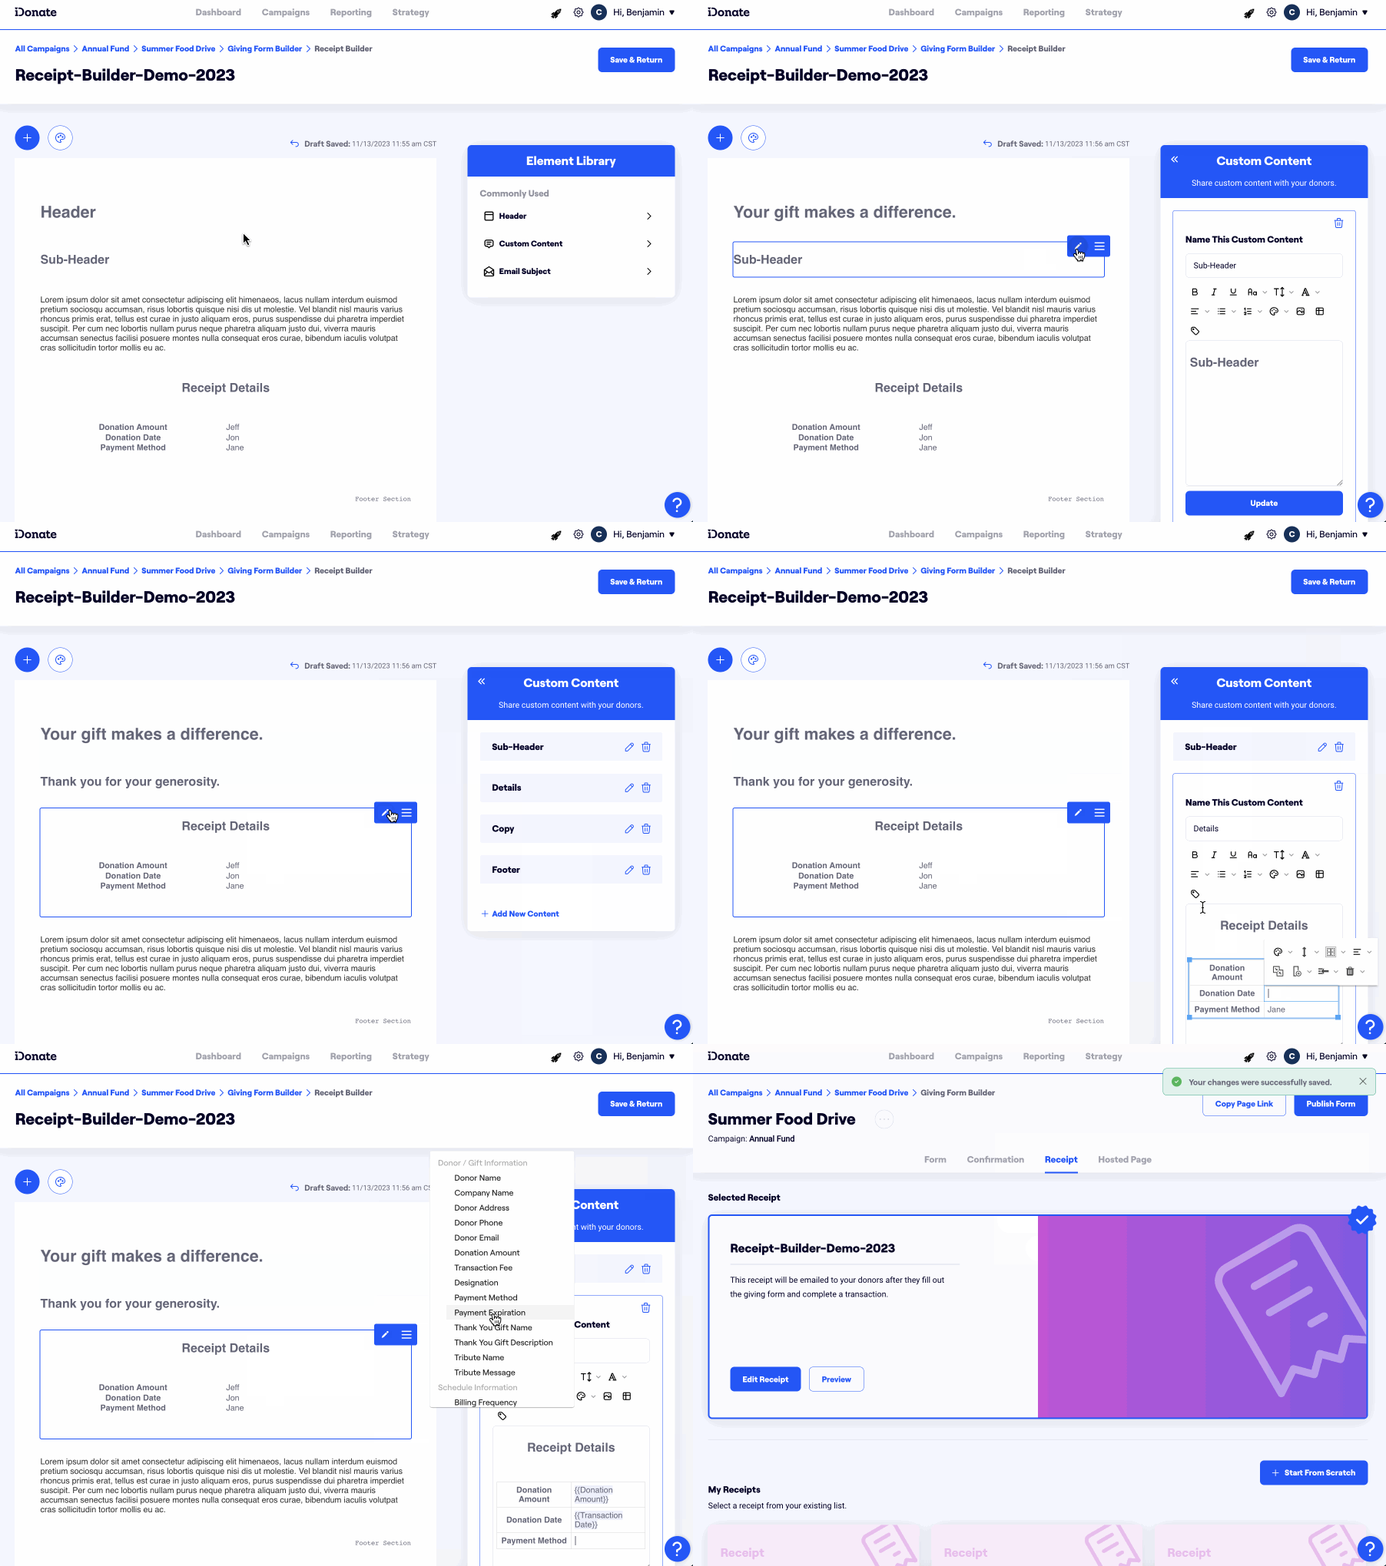
- To edit a section, mouse-over the section and select the Pencil Icon. To move a section, select and hold the Three-Line Icon as you drag and drop it to the desired location.
- You can add Custom Content, which is great for adding a personal touch to the Receipt.
- You can add and remove Merge Tags. These will display the details of the transaction, such as Donor Name or Transaction Amount.
- To set the Email Subject, select Email Details.
- When finished, select Save & Return.

